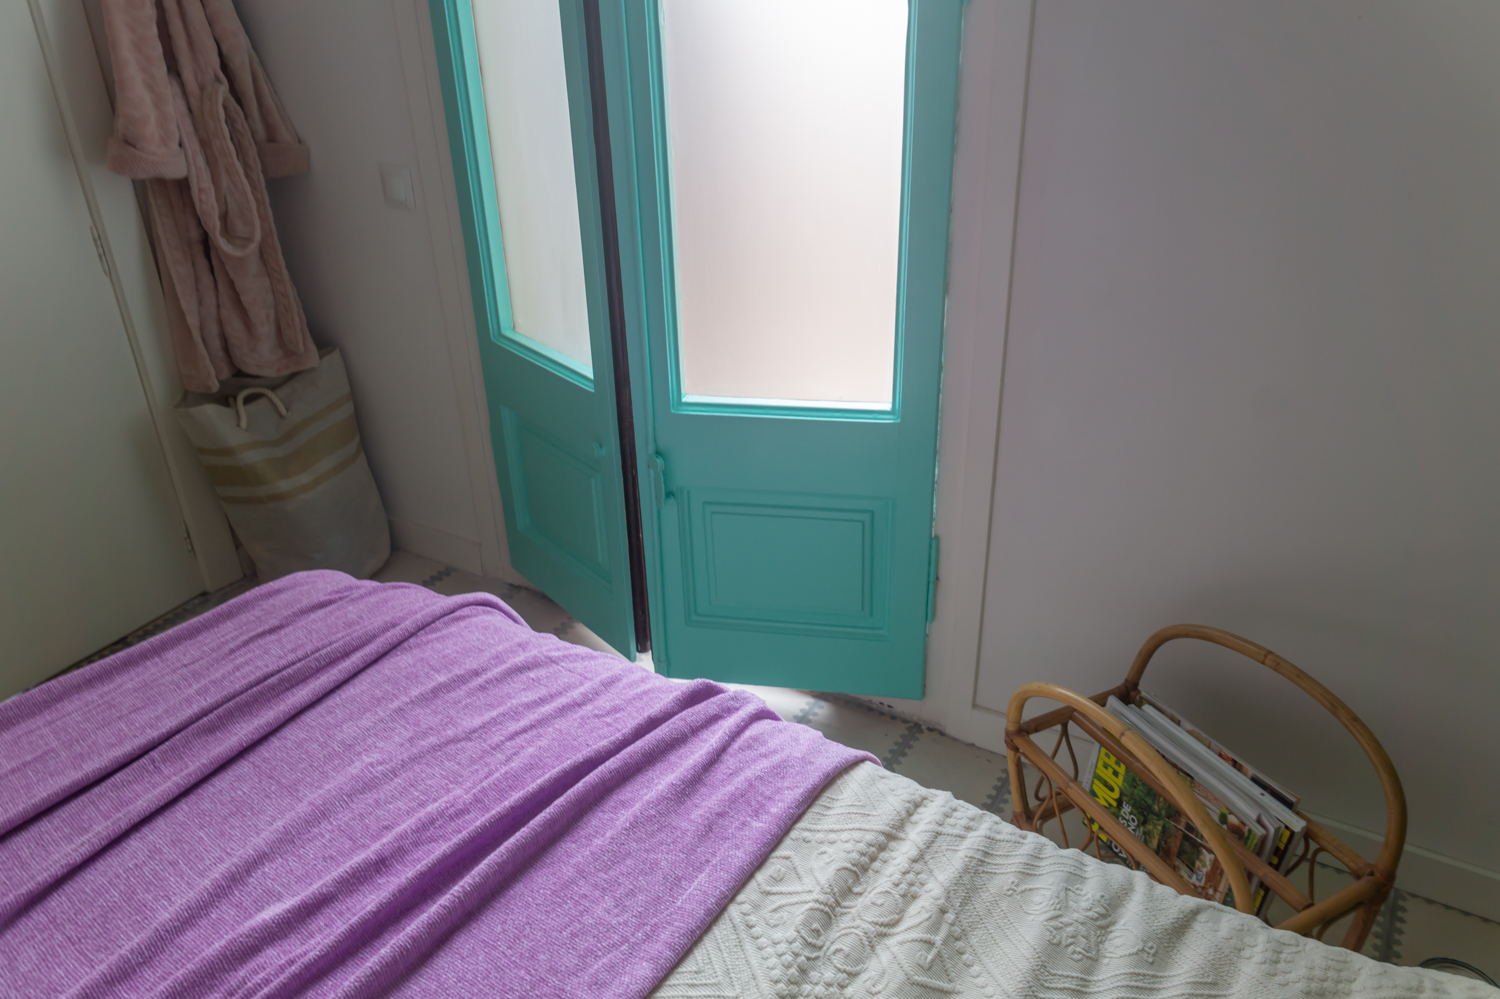
I’ve been meaning to redecorate my bedroom since spring, although it’s been going kinda slow. But I’ve been picking up ideas along the way, such as the plaster ceiling rose I’m going to get from JB Taller Escayola, similar to the one from Gemma and Jordi’s Home. I always knew the accent wall color was going to change from melon green to turquoise, and then I decided to paint the balcony doors in the same colour. I even thought I knew which paint I was going to get, but when I went to buy it from the distributor of Benjamin Moore in Barcelona and saw the printed catalogue, I thought that hue looked too pale. Moreover, while in the shop, I also decided to paint the balcony doors turquoise, but not the wall. The wall will be getting a completely different hue, stay tuned for my bedroom makeover reveal, which will be coming soon enough (or so I hope :D).
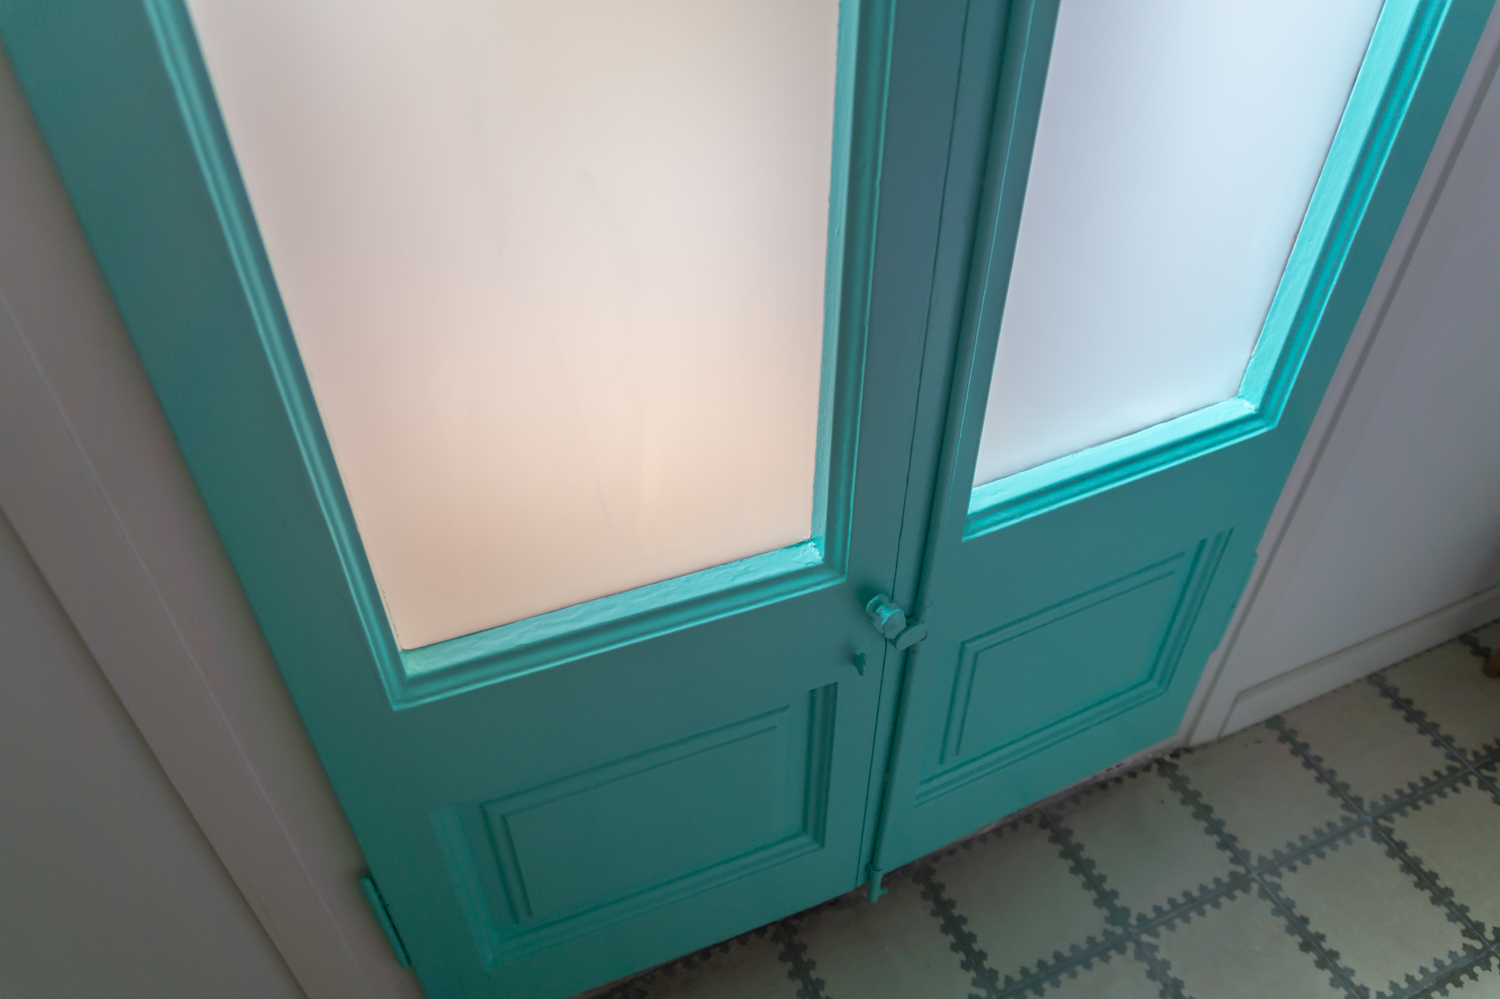
Anyways, today I want to talk about the technicalities of painting the balcony doors. It has been my biggest DIY venture yet, and I would like to share this experience. Painting furniture or architectural elements of your home is a rather easy way to introduce colour and make a design statement. And you know me, I encourage everyone to be bolder when it comes to mixing styles and hues. It’s only scary when you do it for the first time, because you are not really sure which supplies you need, and what are the exact steps of the process, but once you have tried painting something around your home, there is really no going back. And I hope this tutorial will clear up at least some of your doubts.
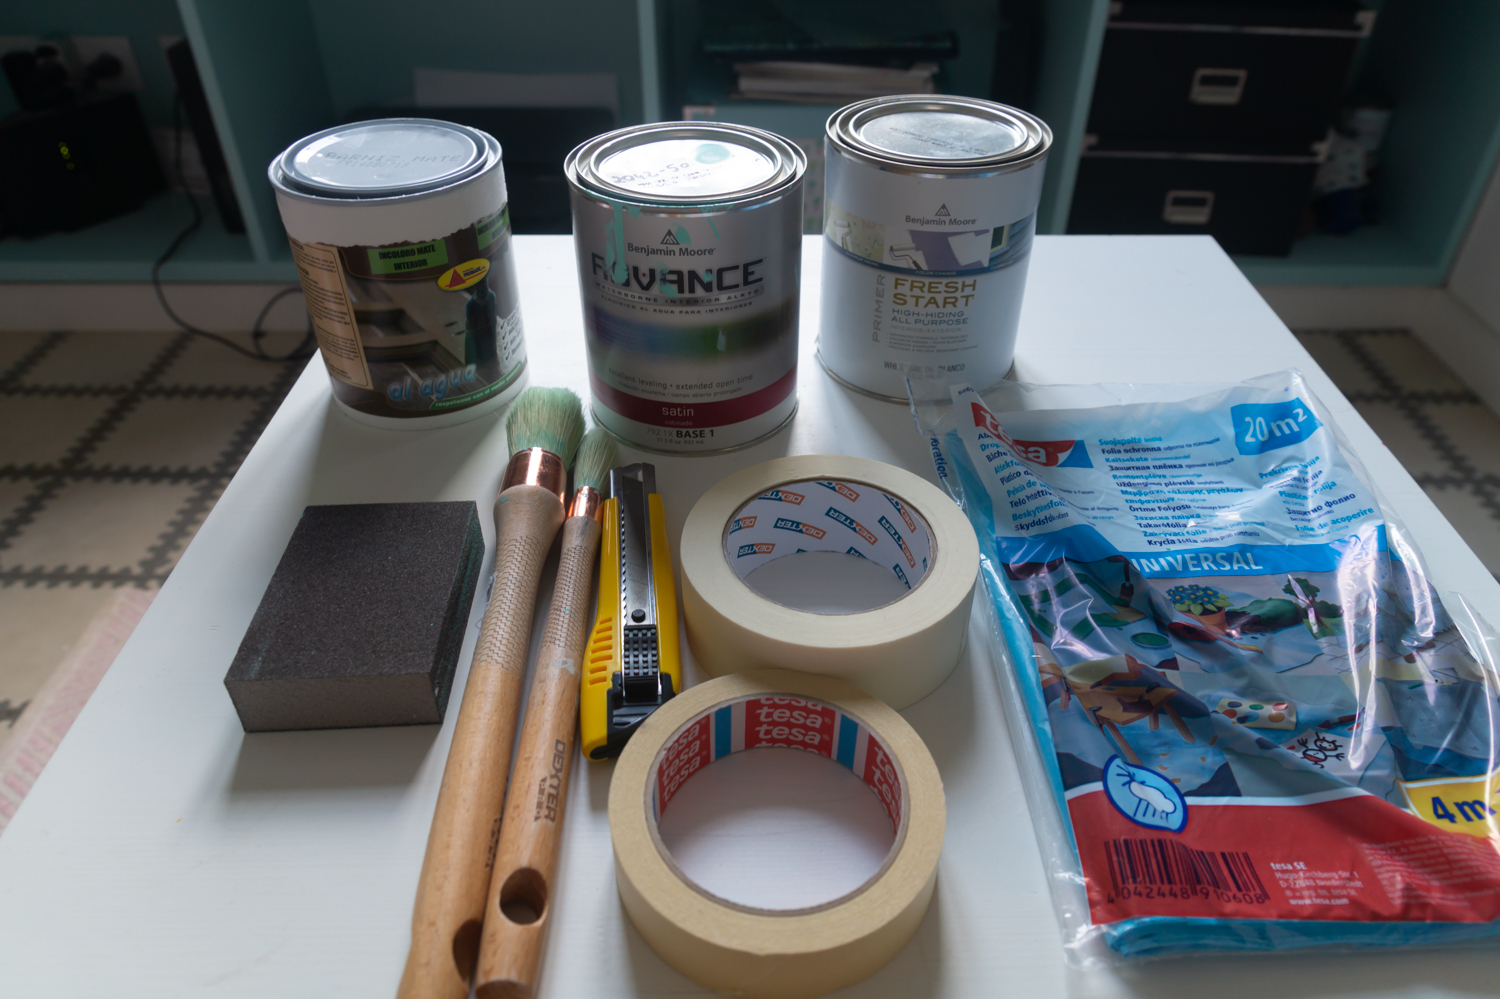
Let’s get started! These are the supplies and tools I used to paint my balcony doors.
Sanding
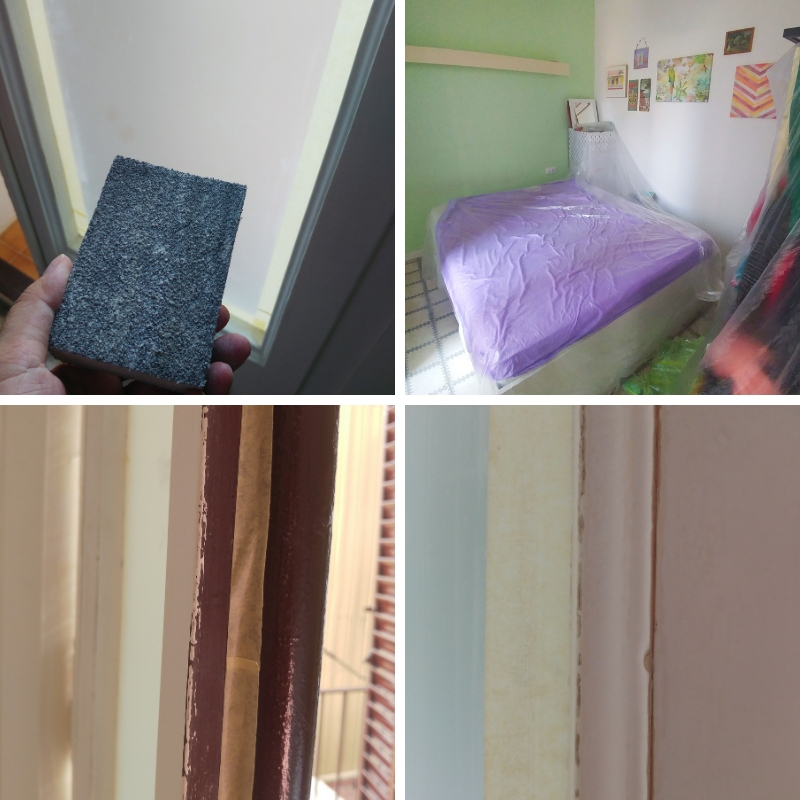
Unless you are dealing with raw wood, you will first need to sand before painting it. In my case, sanding was quite a lot of work – these doors are big, old, carried old paint and had a relief pattern, which makes sanding difficult. A professional sanding machine can be really helpful, but I didn’t want to spend money on one, so I used a bunch of sanding blocks (lija in Spanish), and be sure to get the rougher ones. This is also the stage when you stick the painter’s tape on the glass and the edges of the outer frame (if you are not going to paint it) to protect them from the abrasive impact. And be really careful, make sure you have painter’s tape protecting all the edges/glass which you mшпре accidentally strike with a brush!
Sanding produces a lot of paint dust, like A LOT. So you’ll need a drop cloth to cover the rest of the room from this dust, and when dealing with tall objects, which was my case, you may also need a protective mask for your nose and mouth. Eyes need protection too, some sort of glasses will be handy.
Painting
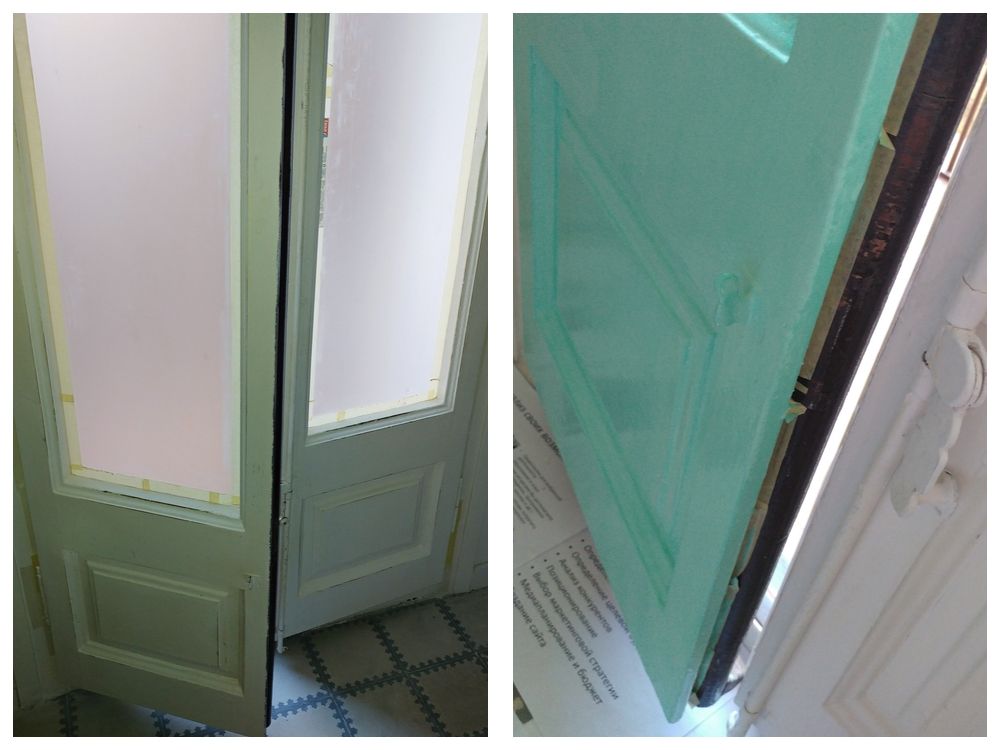
Once you’ve finished sanding, it’s time to carefully clean up all the paint dust. Use a wet cloth, and give it at least two goes to make sure every bit of the surface is clean. Give it some time to dry and start with the primer (imprimación in Spanish). The primer is a preparatory coating before painting. I used two different-sized brushes, the smaller one for the edges and hinges. But make sure you clean up your brushes or use a different set for the actual paint. Water-based paints clear off with water and soap, but for other types of paint you will need a solvent (disolvente in Spanish). Your brushes need to dry before you can reuse them again. Here is a tip: a hair dryer can help to speed things up!
Once you’ve let the primer dry for at least a few hours, start painting. Shake the can of paint up really well before opening it and get to work. You will need two coats of paint, and once the first one dries (different manufacturers indicate different drying time, but give it at least 6 hours to be sure!) study the item for possible paint runs. If necessary, sand it up a little, but this time better use a finer sand block.
Once the paint is dry, time to varnish the surface. I used this varnish (barniz in Spanish) from Amazon, but I’m not exactly happy with it, the finish is a bit splotchy, although maybe I just applied a too big amount, not really sure.
Final touches
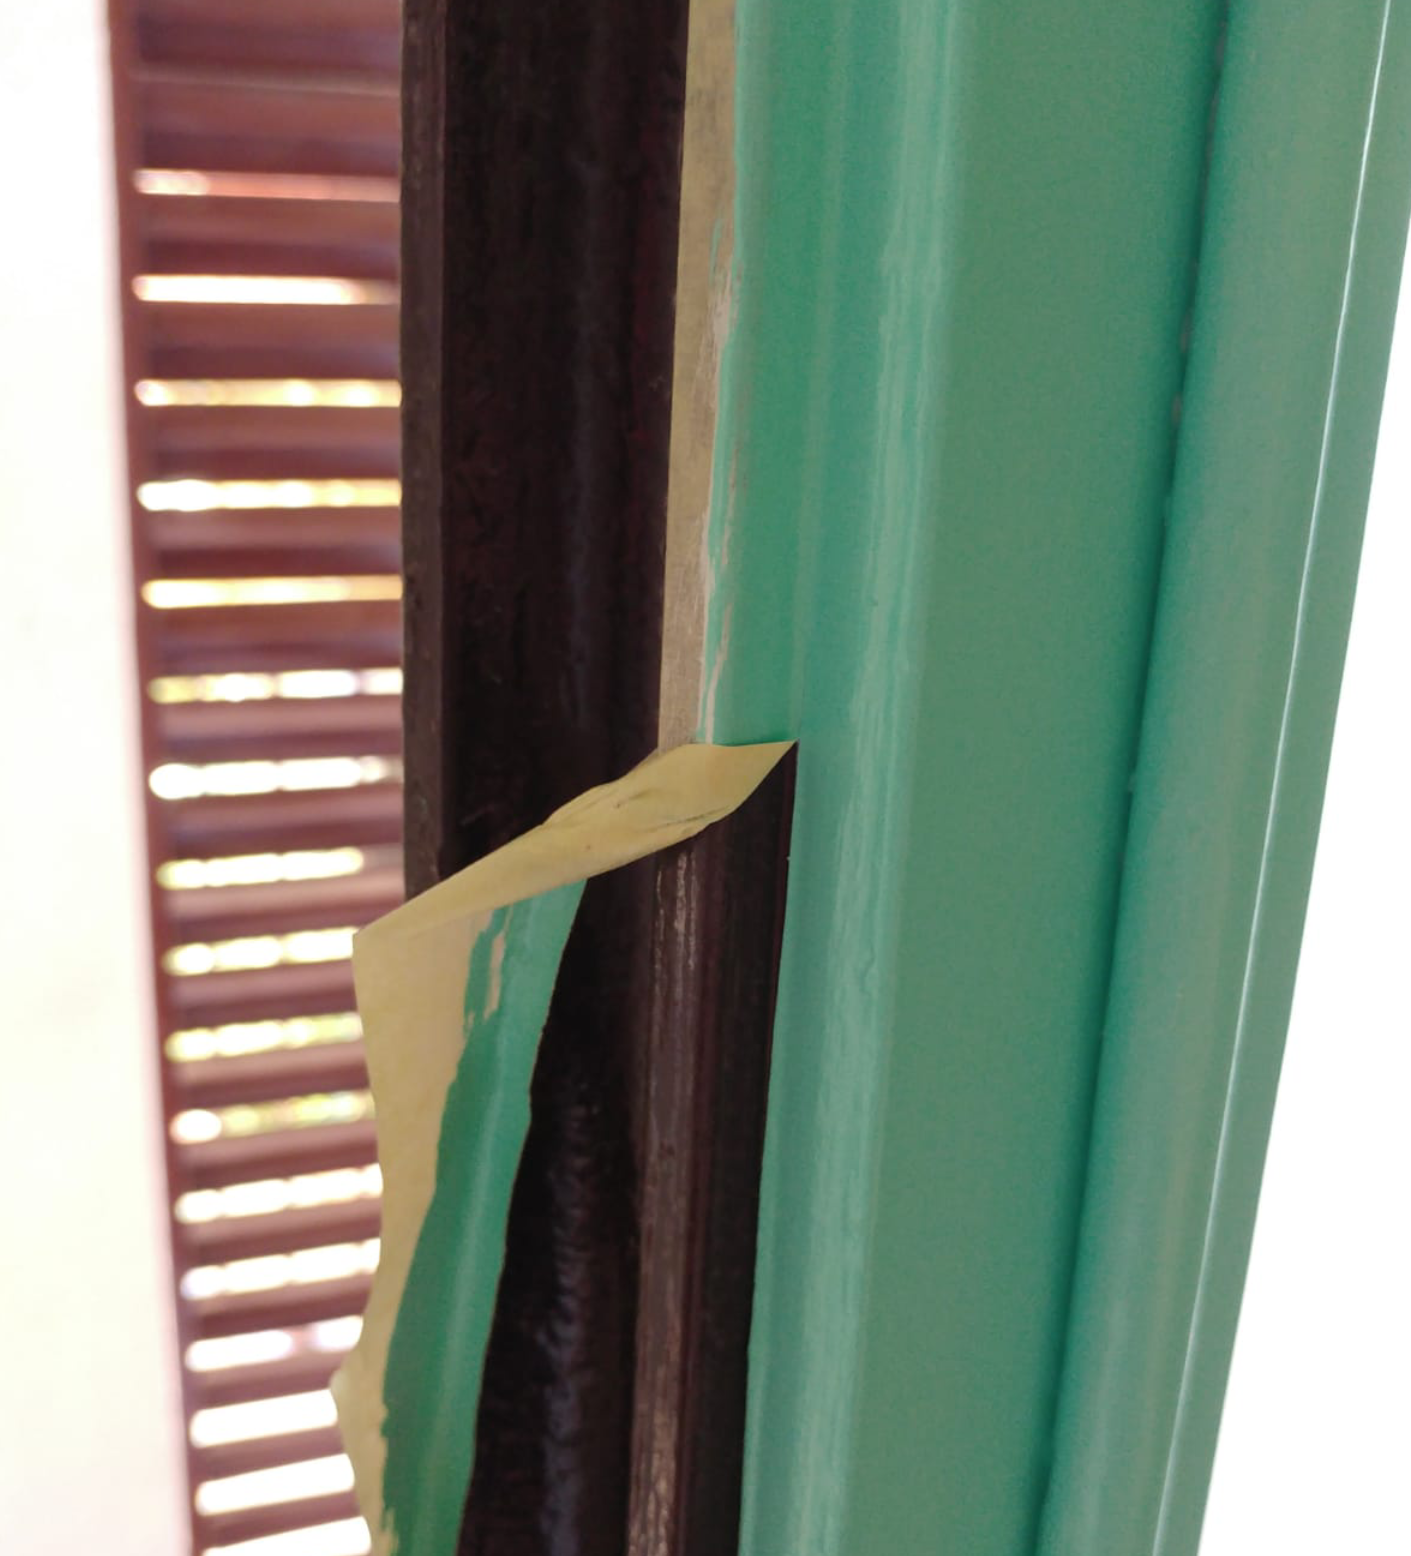
Once it’s all dry, you will need to remove the painter’s tape. And if you’re dealing with old wood, with a bunch of imperfections on the frame edges it can be quite a pain in the ass. Use a cutter on the tape stuck on the glass before peeling it off. The cutter will also help you remove the possible paint drips and smooth the rough edges. For accidental paint drips on the glass use acetone, although a the nail polish remover does the job just as well.
The job is done!




No Comments