


My first upholstery project
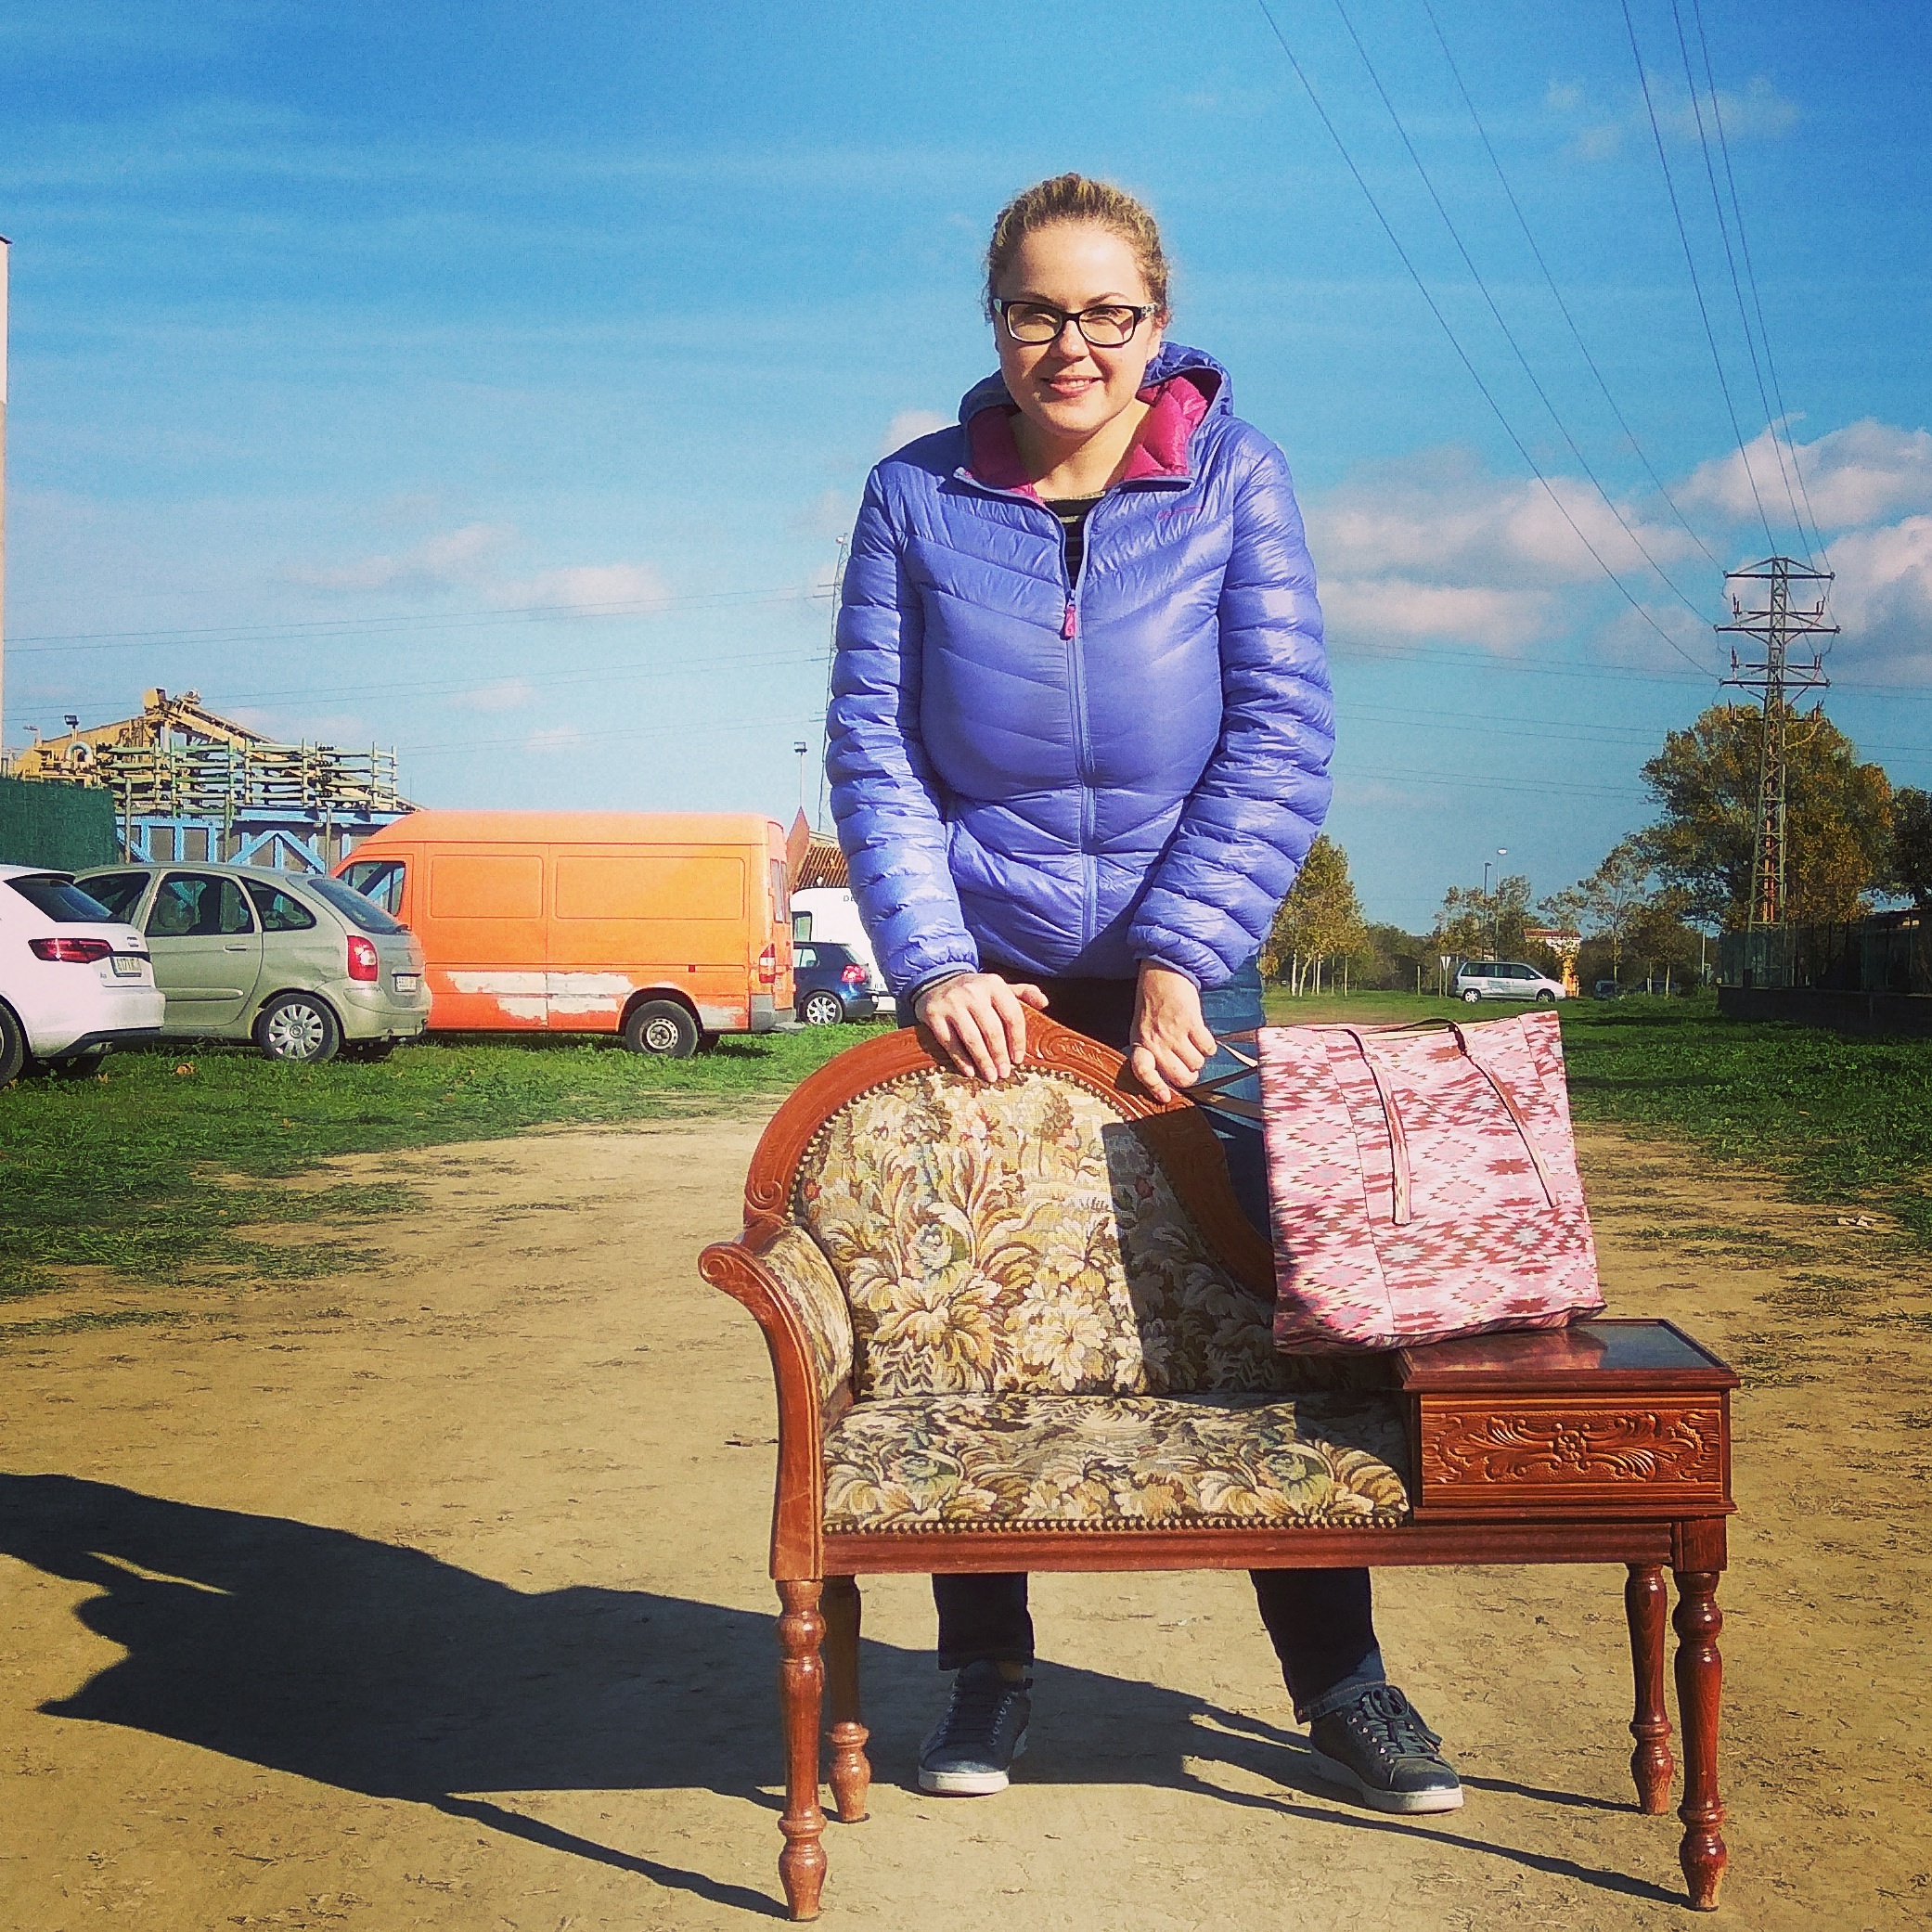
First thing you need to know that it’s not a typical DIY post with a tutorial, because the ‘Y’ isn’t exactly there, as I failed to do it all by myself… Anyways, this story goes back to October when I visited the flea market in Celra (Girona) and bought this beautiful telephone table with seat for only 35€. It has a pronounced ‘modernisme’ feel about it, although I’m not sure of its provenance, but it appears to have been mass production, because I’ve found lots of makeovers of this exact piece on Pinterest, most of them had it painted into white or grey, shabby chic is really trending these days.
Although the piece didn’t need a total makeover, as its original colour was already perfect for my entry way, matching my coat rack piece, I knew I would have to change the upholstery. I’ve never done it before, but how difficult/expensive could that be?! Oh, how naive I was! 😀
Although I did contemplate doing it by myself, I reached out to a couple of professional upholsterers, but their quotes were at least 200-250€, and that did not include the new fabric. These figures set me back, and I put the whole thing on the back burner for a while, and then in February I became determined to try and change the upholstery by myself. And so I set out to make this my real first upholstery project.
I can do it!
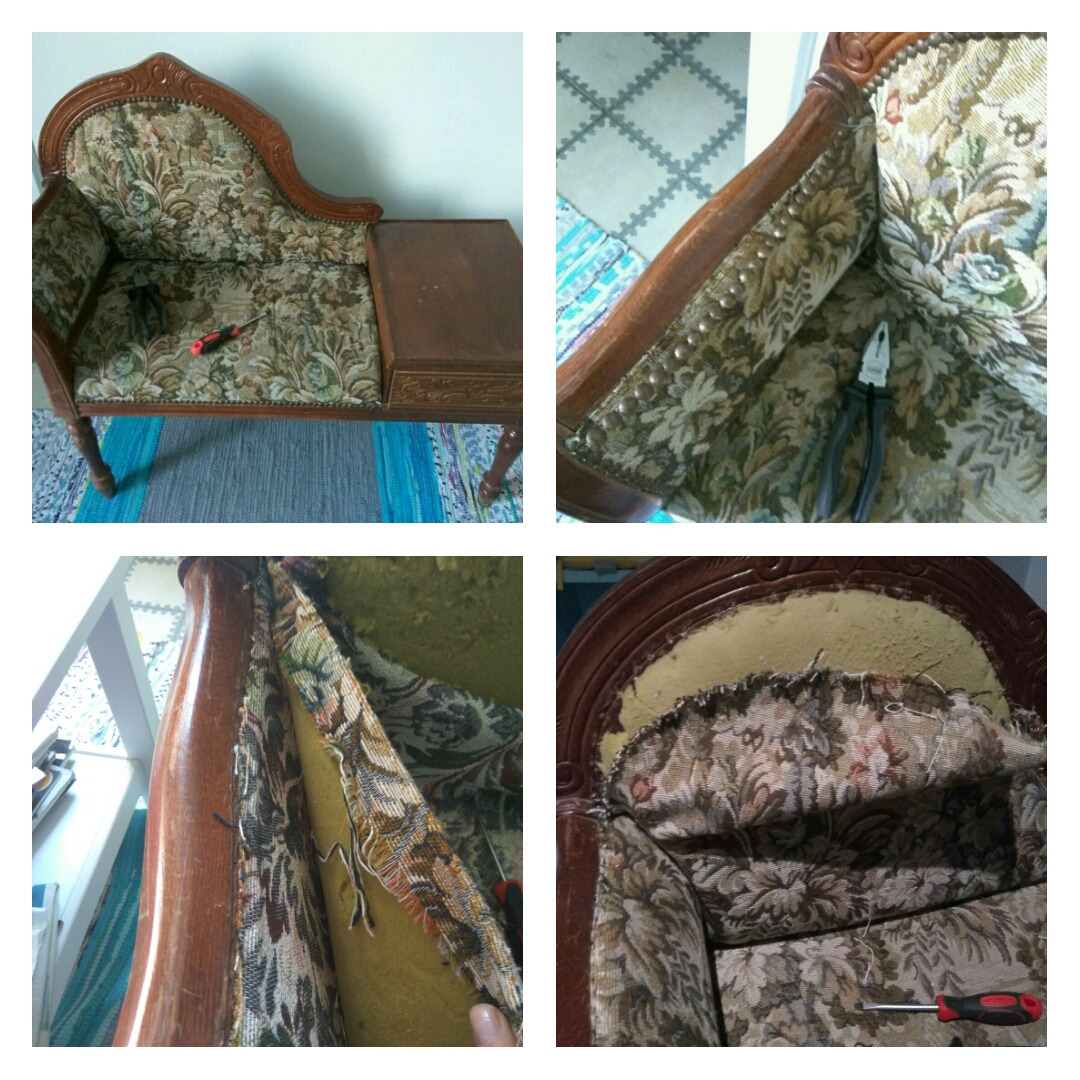
I started from stripping off the old fabric and padding. It took me around three days, and I had to take around a million staples out of the piece, literally, almost drove me nuts (it’s my first upholstery project, remember?!). At that point I was starting to understand why professionals wanted at least 200 for this job. Also, I couldn’t help but think that if it was so difficult to get rid of the old fabric, how complicated will it be to put the new stuff instead…especially considering that it’s far from a simple chair, something people normally take up as a first upholstery project. This piece had some tricky details, like the elbow-rest plus the curved shape of the seat back.
Getting new fabric from Gancedo
Anyways, once I took the old upholstery off, I could get an idea of how much fabric I would need, and so I was ready to buy some new fabric. I wasn’t quite sure what I was looking for, but I wanted something refreshing and playful enough.
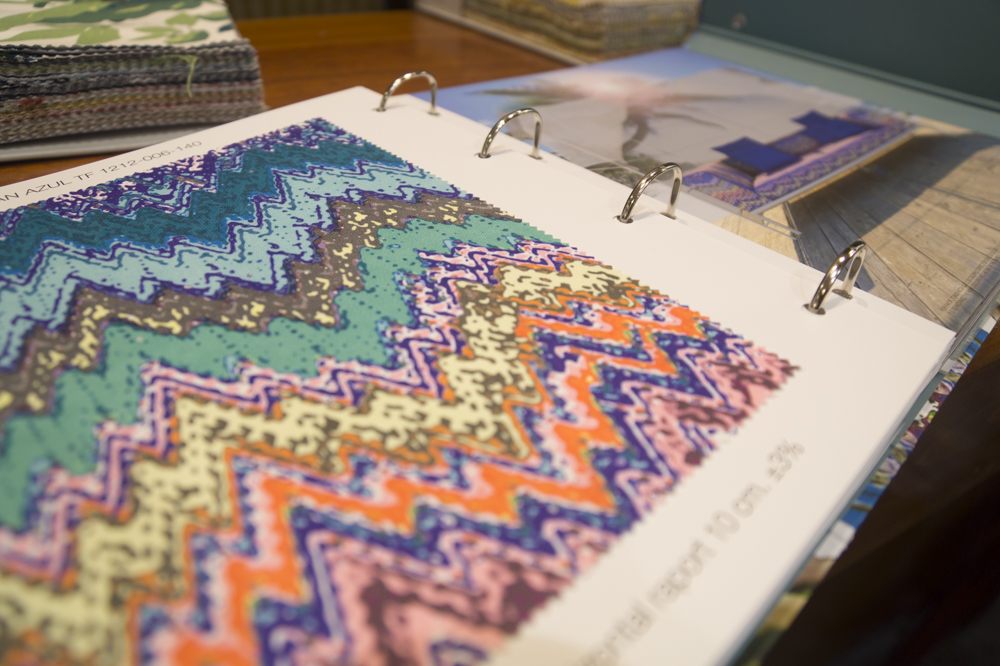
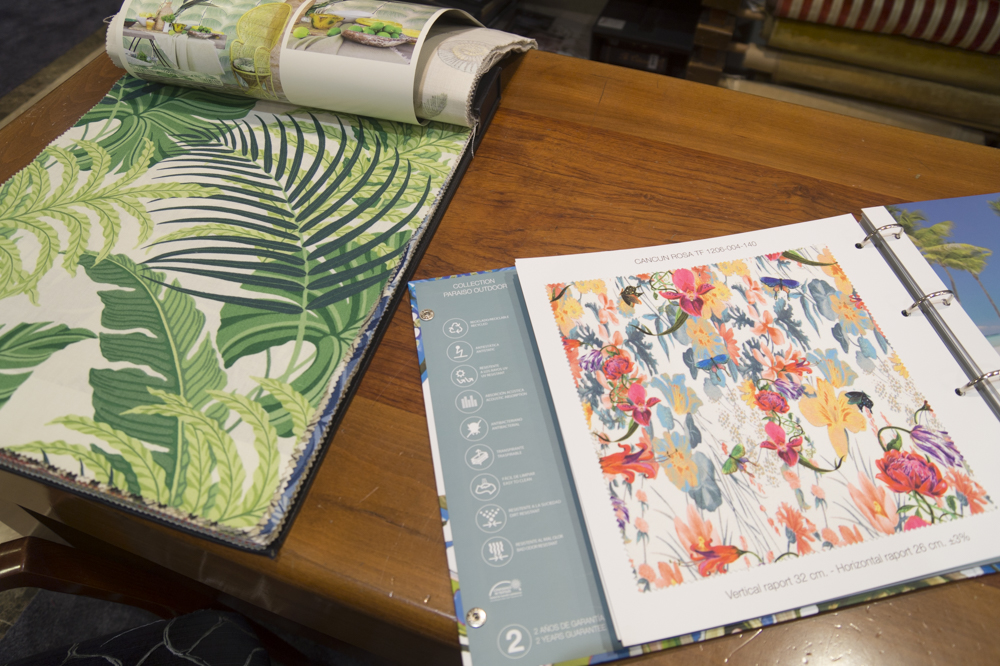
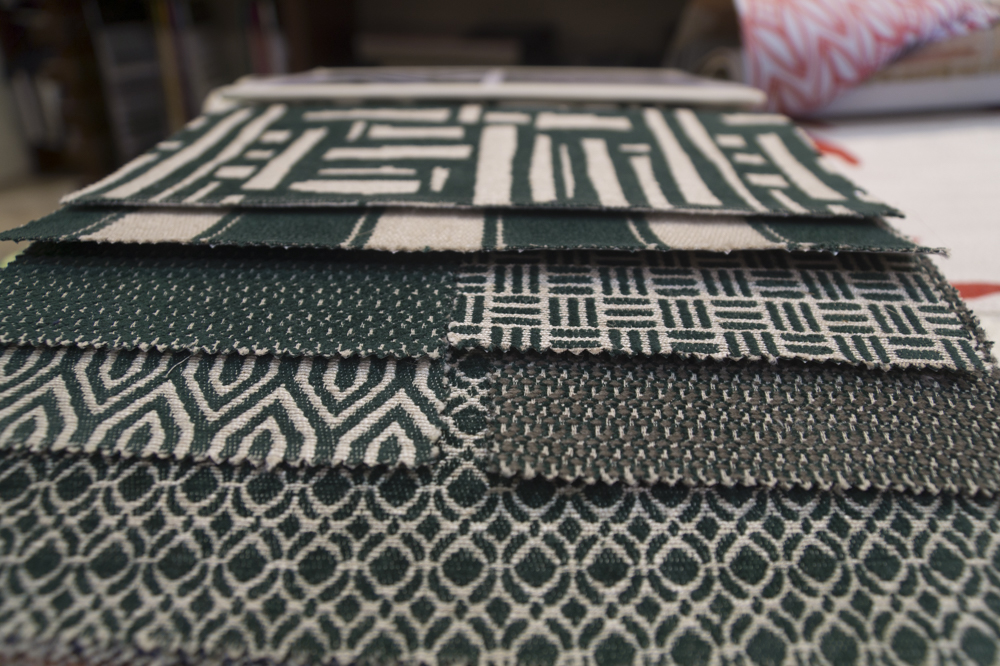
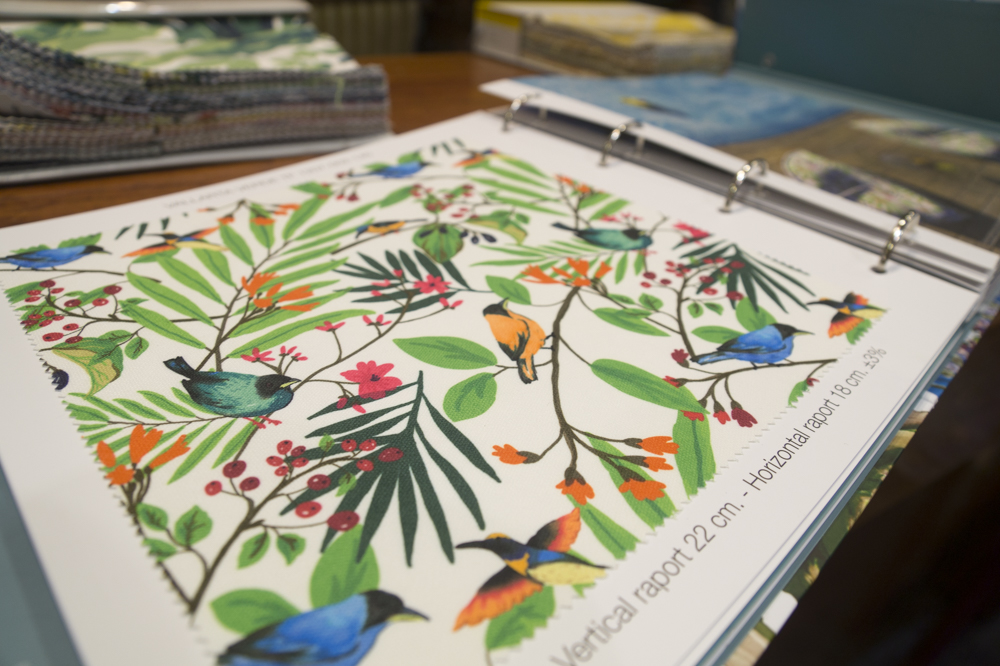
I checked out a few regular shops, but all the textiles were kind of outdated, like something my grandmother would use. And then I came across the Gancedo shop on Rambla Catalunya, and I instantly knew that this was the place I was looking for! Gancedo is one of the leading Spanish retailers of upscale home textiles and wallpaper, with more than 70 years of history. The shop may come off a bit too «traditional», but actually they cater to any taste! And apart from being a distributor for some big international names in textile design as Robert Allen, Sanderson, Ian Mankin or Luigi Bevilacqua, Gancedo also make textiles of their own, and their new line Happytex is aimed at younger audiences looking for bolder and trendier styles, like geometry or tropical.
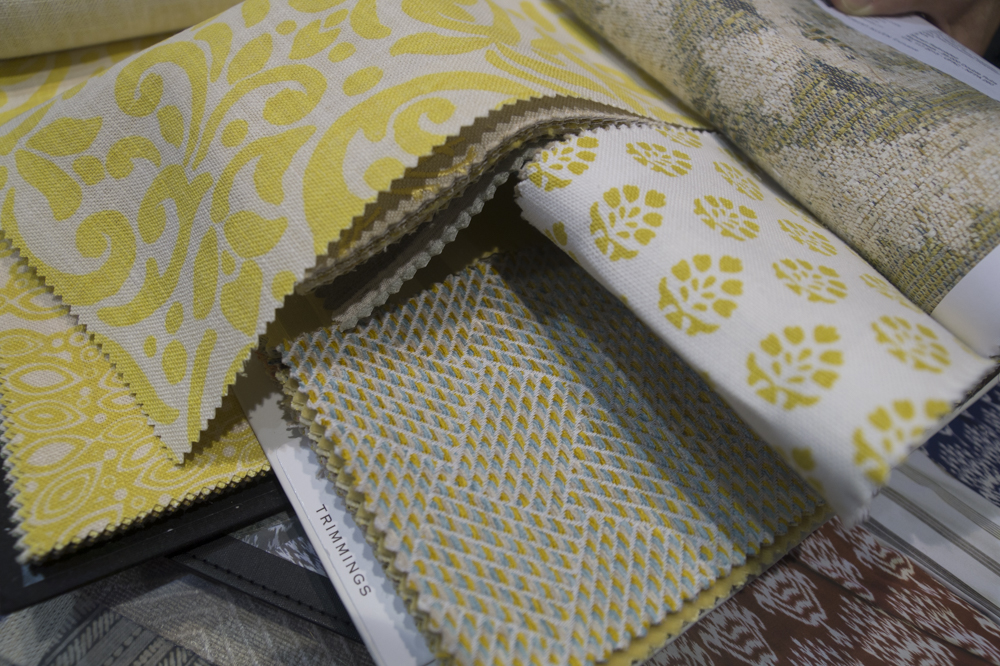
I spent a couple of hours in the shop skimming through numerous catalogues, even though I had already narrowed down the choice of colour to either yellow or blue, but there were so many pretty patterns, so tempting!
My saviour Fernando!
Finally, I ended up choosing between these yellows from the pic above. Which one did I go for? You’ll see below! However, at this stage, when I had a pretty fabric and had to get the new foam, the tools, and get down to work…I started to panic. I could still remember how demanding the first stage of the re-upholstery project was, and there was no way I could pull off the main job, where I had to get the foam right, keep the pattern aligned, and make the final result look perfect. So I chickened out (and I’m still convinced I did the right thing, you do not take up such a tricky DIY as upholstery with a piece of furniture which is not a common chair!)
So once again, the whole project was put on hold, until a few weeks later, when I was strolling around the center of Barcelona and came across an upholstery shop. From the name (Tapizados sobre ruedas, c/Ausias March 106-108) you can see that it specializes on motorcycles, but along with bikes I also spotted some upholstered furniture inside, so I went in.
I showed Fernando, the upholsterer, the pictures of the furniture and he said it would cost me between 80 and 90€. Quite a reduction from 200-250€! In a few days I came back with the furniture and the camera, and soon enough my first upholstery project was over, even though in the end I had to seek professional assistance.
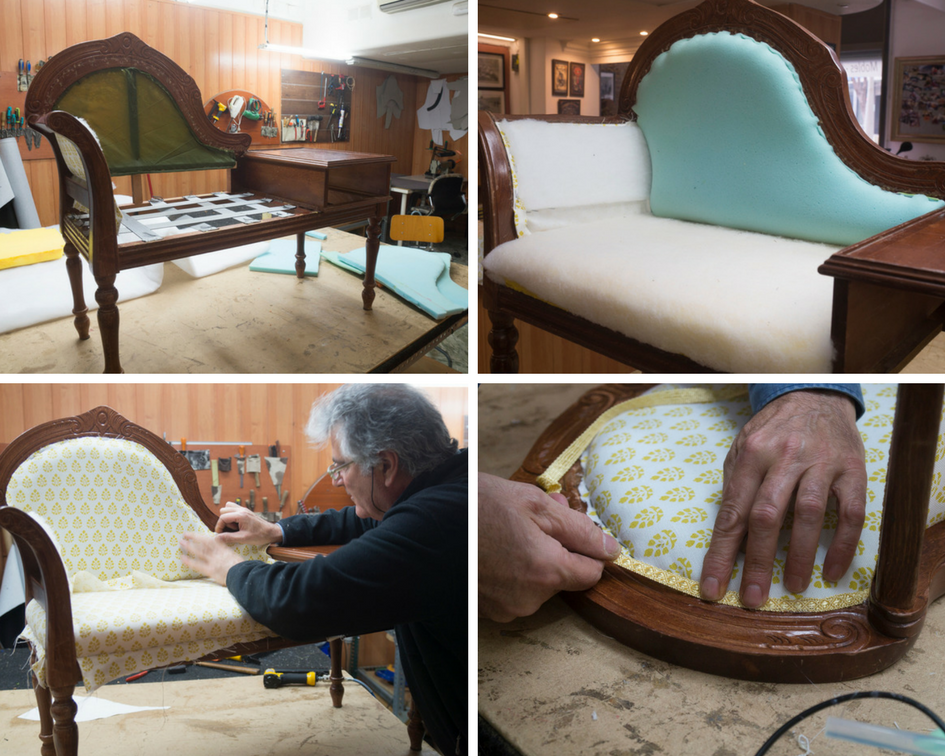
I won’t take you through the entire process in detail, because I didn’t get to do it myself. However, when I was contemplating doing it myself, this blog was very helpful. And I hope one day I’ll try upholstery on my own!
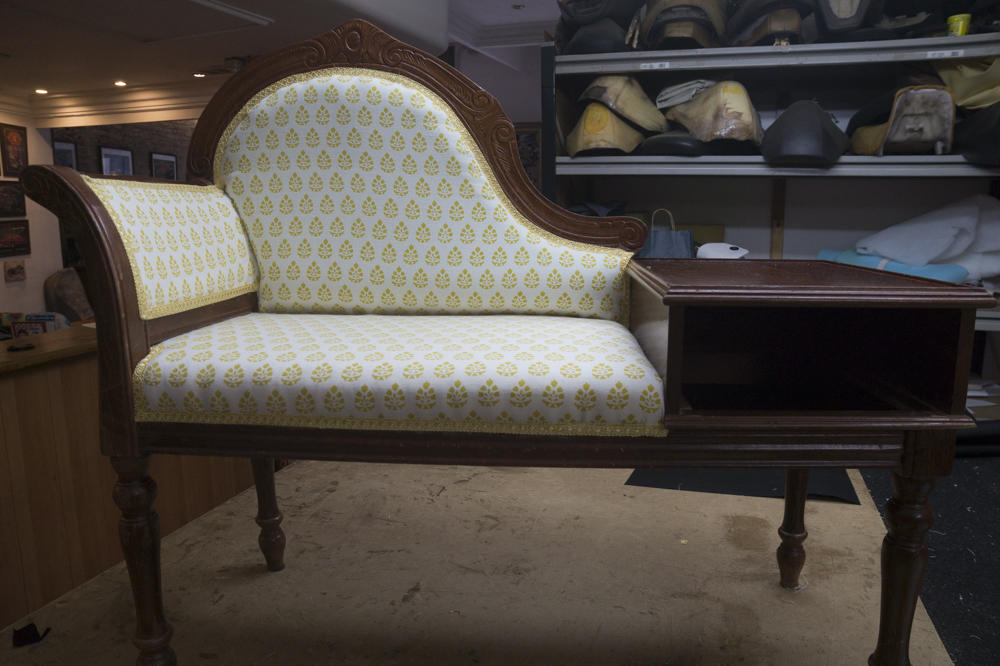
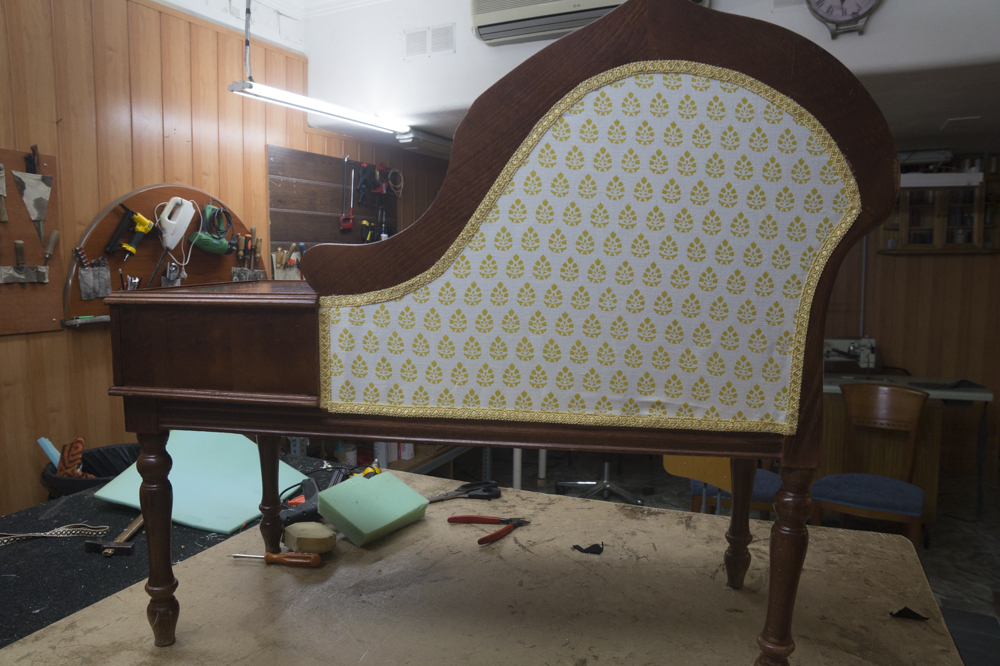
Oh, and this is how it came out in the end! What do you think? I wish I could show you how it looks in my entry way, but that corner needs some further improvement, but I’ll have it ready soon enough!
No Comments